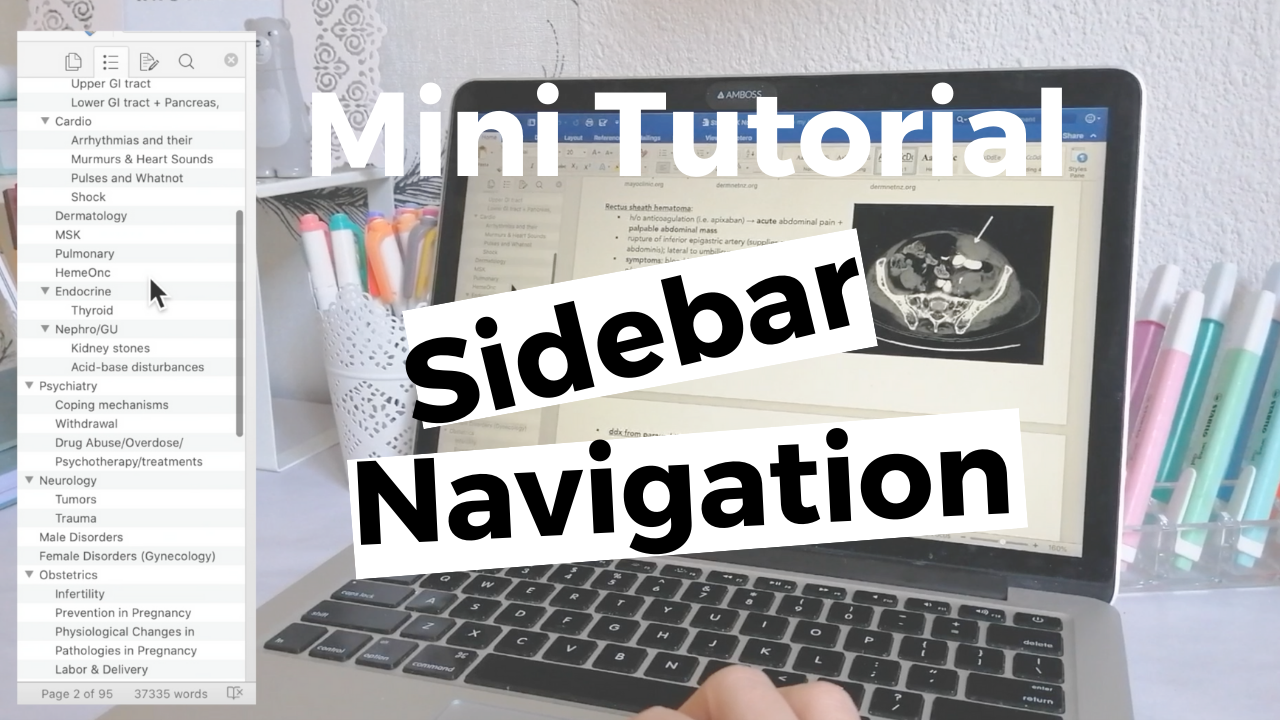
Digital Notetaking Tip Tutorial: Navigation Panel
In Microsoft Word, there is a function that many people may not know about. Until recently, I…

In Microsoft Word, there is a function that many people may not know about. Until recently, I was one of those people, so I decided to put together a quick video to show how the feature looks and how to set it up for yourself.
To watch the 4 minute YouTube tutorial on this notetaking tip, check out my YouTube or watch below!
What is a Navigation Panel?
This little sidebar in Microsoft Word not only allows you to organize your long document aesthetically, but it is also incredibly useful. By clicking on any of the headings in the sidebar, you can quickly jump to the desired section of your document. I’m using it for my USMLE Step 2 CK notes (click here to read about how I’m studying for Step 2), and it significantly speeds up my notetaking process.
How to set it up yourself
I think it’s really simple, once you realize that the feature exists.
- Start by typing out your headings, subheadings, etc.
- Select the heading(s) and click on HEADING 1 in the toolbar (upper right hand corner). You’ll see that it changes font/size, etc.
- Select the next ‘level’ heading (the subtopic), and click on HEADING 2. It should change format again, and should look slightly different than the main heading.
- Do this for all the headings, subheadings and ‘children’ that you want.
- Now that that’s set up, go to VIEW –> SIDEBAR –> Navigation Panel. Click, and you should see it pop up on the left side. That’s it, you’re done!
I hope that was helpful. If you enjoy these mini notetaking tip tutorials, I’d love to make more, so let me know!


